
Step-by-step poster guide
Turn a Coloring Page Into a Collaborative Poster
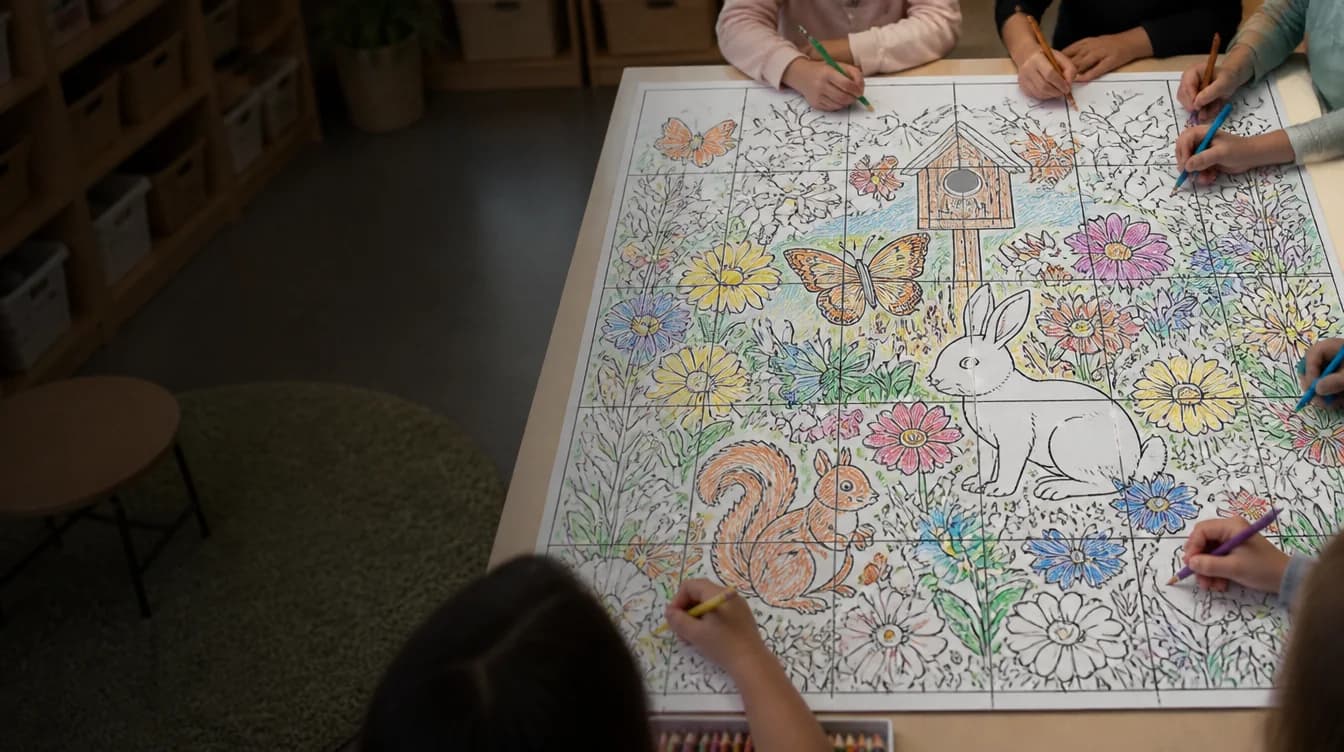
A single coloring page can become a whole-class project when it is divided into a grid of printable tiles. The best results come from clean line art, a page count that matches the group, and simple assembly instructions.
Updated June 12, 2026
Prepare the line art
Choose a design with bold enough outlines and a source file large enough for the intended poster. Remove accidental marks and confirm that text remains readable.
Use only artwork you created or have permission to reproduce.
Select the student-page grid
A 4 by 4 grid creates 16 pages, while a 5 by 5 grid creates 25. Choose a count that fits the class or small groups. The assembled poster proportions follow the uploaded artwork and selected paper dimensions.
Set coloring expectations
Decide whether students can choose any colors or should follow a shared palette. Explain how to handle white space, backgrounds, and areas that continue across page boundaries.
- Write names on the back
- Keep page labels visible until assembly
- Use similar materials across the class
- Set a return location for completed pages
Sort and assemble
Arrange pages by row and column before attaching them. Compare the layout to the full preview and make small alignment adjustments before mounting the complete poster.
Split your coloring page
Preview the full design, choose the number of student tiles, and export the printable pages.
Create the poster pages